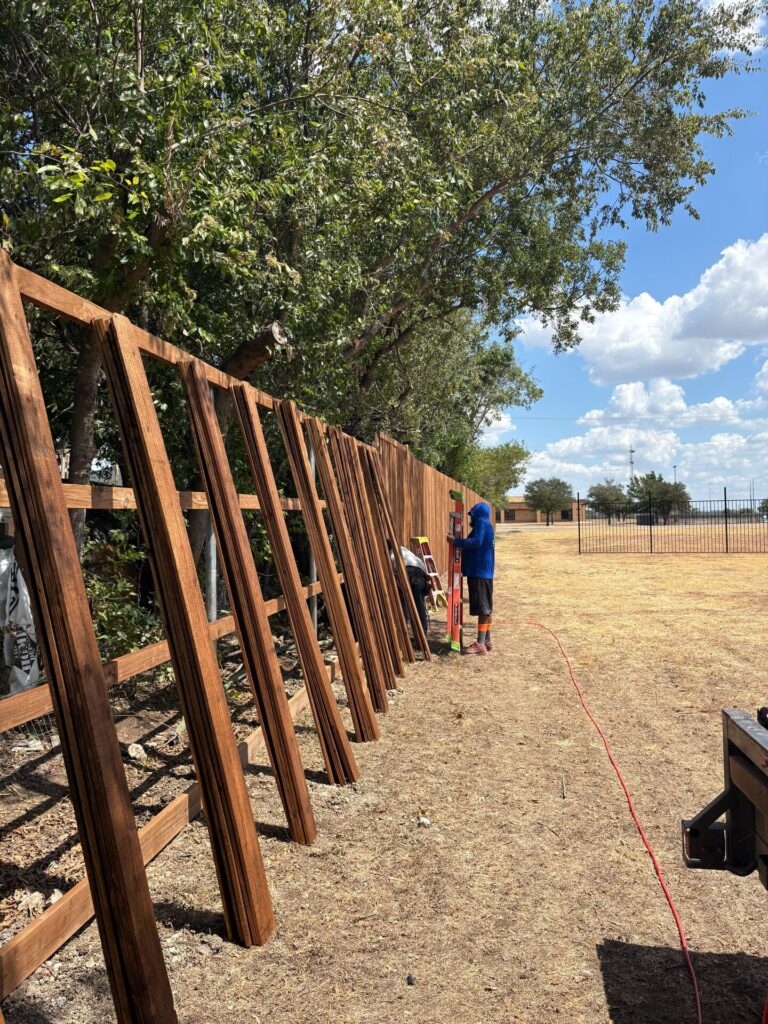
A fence that looks right on day one and still looks right years later comes down to process. Here is how our crew took this cedar privacy fence from bare ground to finished run.
1. Layout and posts
Everything starts with a string line and post spacing. Posts are set in concrete at consistent depth and checked for plumb and line. Straight posts are the reason a finished fence has a straight top line.
2. Rails
Horizontal rails tie the posts together and give the pickets something solid to fasten to. Three rails on a six-foot fence keep the pickets flat and resist warping.
3. Pickets
Pickets go on against a guide so the top line is even, and they are fastened with exterior-rated fasteners that will not streak or corrode.
4. Stain and clean-up
Once the wood is ready, stain goes on for colour and protection, and the site is cleaned of offcuts and fasteners.
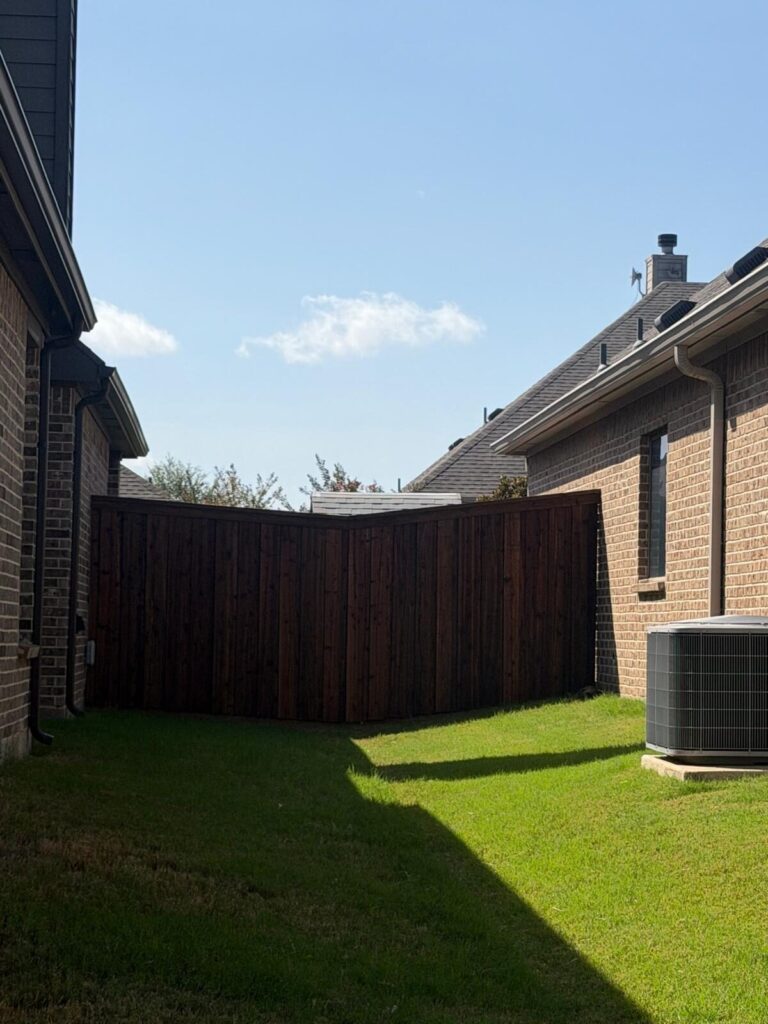
Why the process matters to you
- Straight top line for years
- No loose or popping pickets
- Even stain colour
- Clean yard when we leave
Every step is something a homeowner would never notice unless it was skipped. That is the point. See our cedar and wood fence installation service for what is included.
Frequently asked questions
How long does a cedar fence installation take?
Most residential fences are built in a few days once materials are on site. Concrete needs time to cure around the posts before heavy work on the fence.
Do I need to be home during installation?
Not usually, as long as the crew has access to the yard and pets are secured.
Do you remove the old fence?
Tear-out and haul-off of an existing fence can be included in the estimate.
Get your project measured
Grace Construction builds fences, gates, decks and outdoor living across Johnson, Tarrant and Ellis counties from our shop in Alvarado. Free on-site measure, written price, no obligation.